

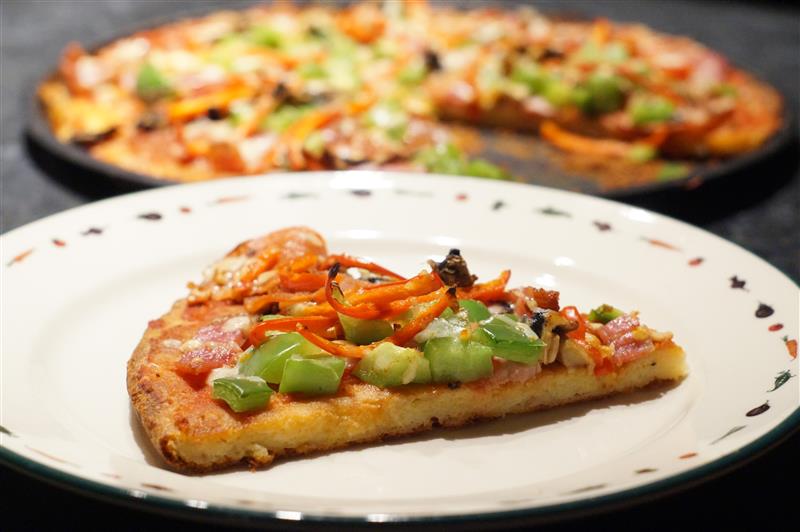
This low carb pizza was given its name from the movie Fat Head, which is well worth a watch if you’re interested in the food industry. You can find the original recipe here. This pizza has quickly become one of the favourite pizzas of many a low-carber. My friend Helen recently posted her version of the Fat Head recipe.
Most often I will make a double-batch pizza, as I did today on a 12″ pizza tray, therefore I would double the ingredients you see below.
NOTE: This article might have been posted on 1st April but this pizza is no April Fools’ Day joke.
Carbs, carbs, carbs
With the right ingredients this should work out at roughly 20g carbohydrates for the WHOLE PIZZA, then add carbs for whatever toppings you’re using.
At a push I could eat one whole pizza, but two-thirds is more my portion-size (and I can eat a lot of pizza) as this is really filling.
But hold on…there’s a lot of protein which may raise your glucose levels…and fat too? If you have Type 1 Diabetes you might need to bolus accordingly for fat and protein.
The ingredients
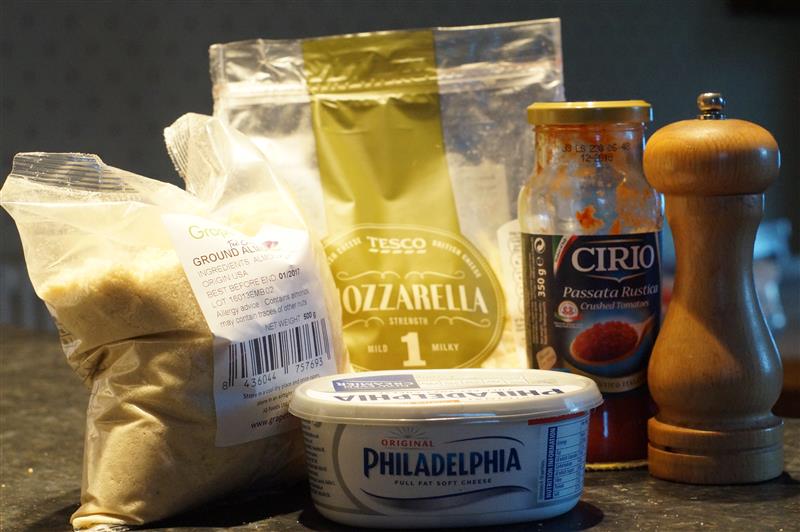
175g grated mozzarella
75g almond flour
35g cream cheese / Philadelphia
pinch salt
1 egg
passata
grated cheddar
and lots of toppings
350g grated mozzarella
150g almond flour
35g cream cheese / Philadelphia
pinch garlic salt
2 eggs
passata
grated cheddar
and lots of toppings: 2 chillies, 1 pepper, 6 slices pepperoni, 2 rashers bacon, 3 small mushrooms, teaspoon of fajita seasoning
Step 1 – Mix
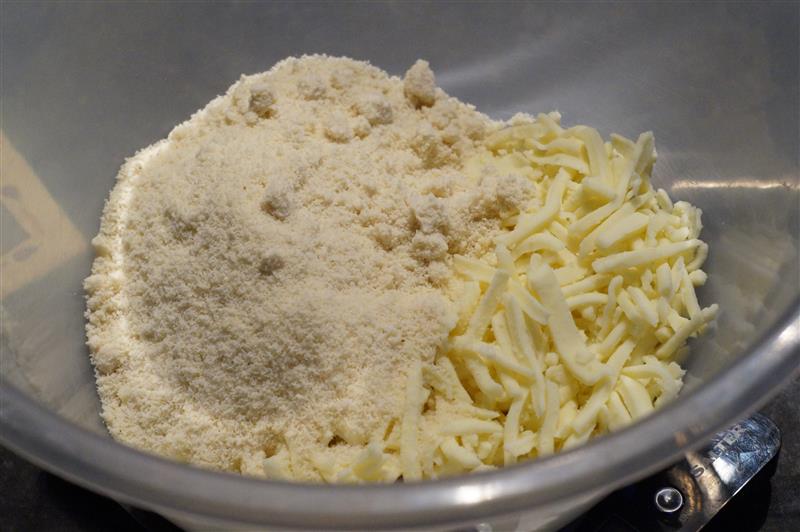 Put the mozzarella, almond flour and (garlic) salt in a large microwavable bowl and mix thoroughly.
If you’re using cream cheese – I don’t tend to – then add it in now.
Step 2 – Nuke
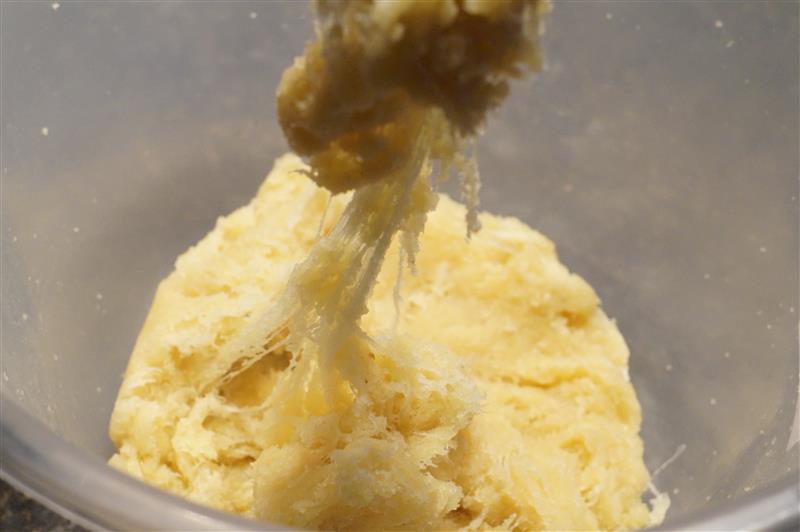 Microwave in 30 second increments until the cheese is stringy (see right).
For a double batch like the one featured here it took 3 minutes in total to melt the cheese.
Step 3 – Mix in egg(s)
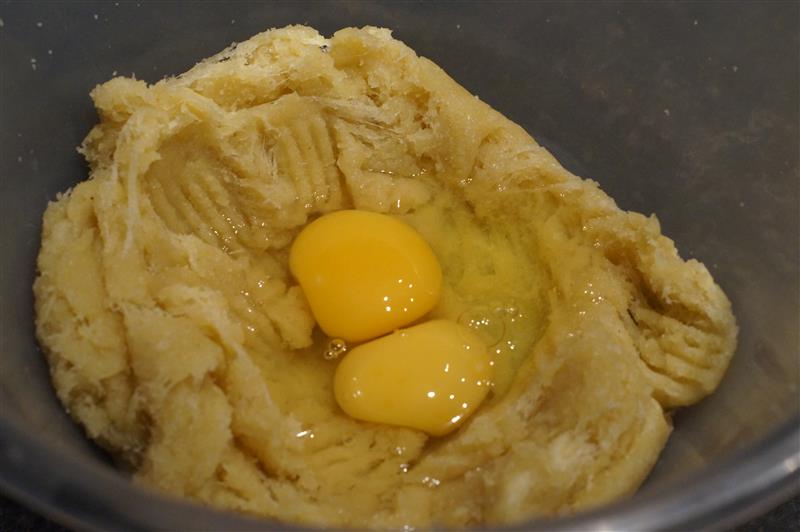 Break an egg into the mixture – or two if you’re doing a double batch as I did today.
Whisk egg(s) up with a fork and fold in to the mixture.
It will seem like the egg will never get soaked up but it will, just keep going.
Step 4 – Prepare base
 Grease a pizza tray.
No greasing makes for a destroyed pizza when you try and remove it!
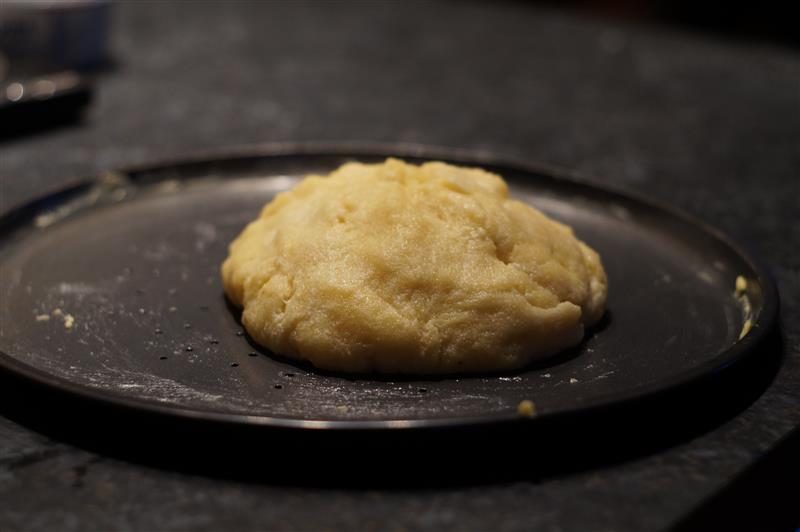
Step 5 – Edge to edge
 With wet hands flatten the mixture out, trying to keep its thickness the same throughout.
Use a fork to prick small holes all over the pizza base. Don’t forget to do this!
Place in oven for 15 minutes at 200C (fan).
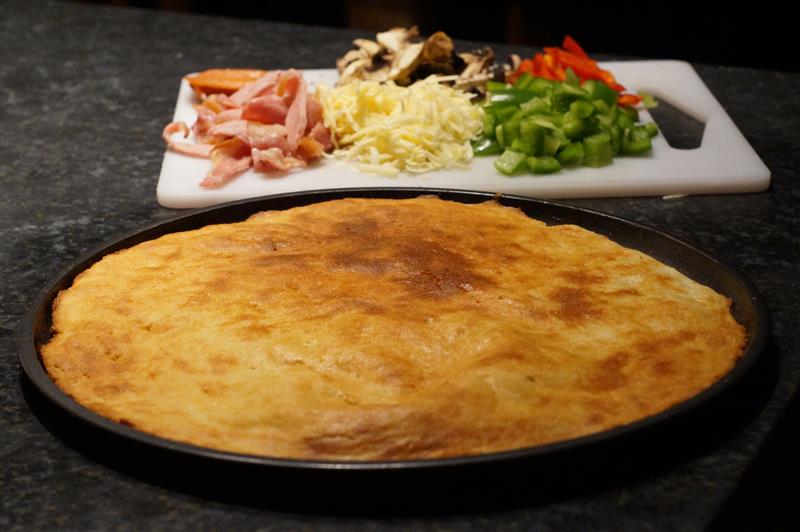
Step 6 – Prepare the toppings
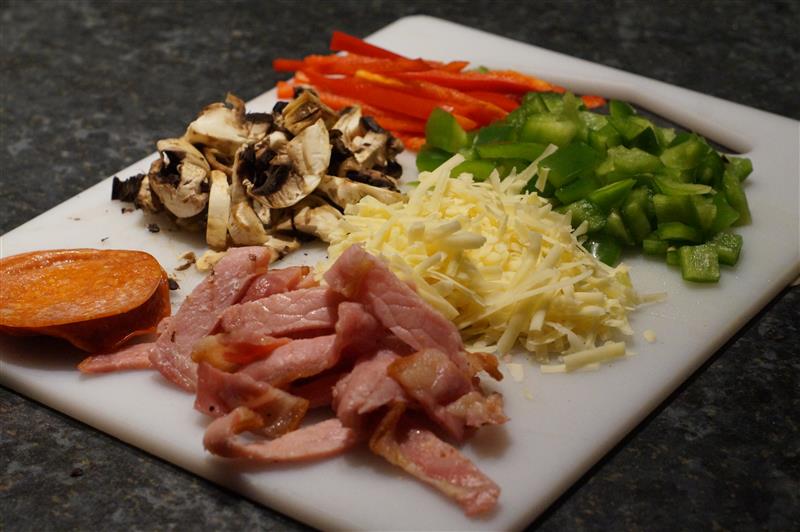 Whilst the base is in the oven prepare your toppings.
We’ve had some great conconctions over the years but tonight I opted for a spicy bacon and pepperoni, made up of chillies, green pepper, mushrooms, pepperoni and bacon.
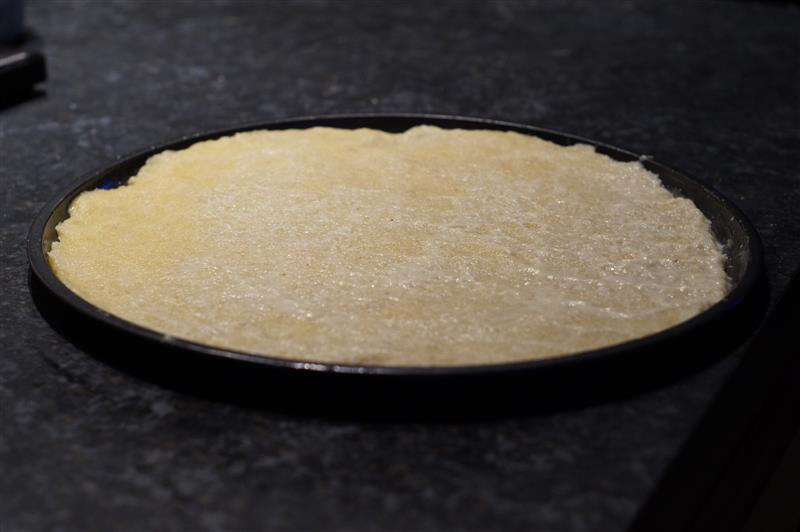
Step 7 – Remove pizza base and curse
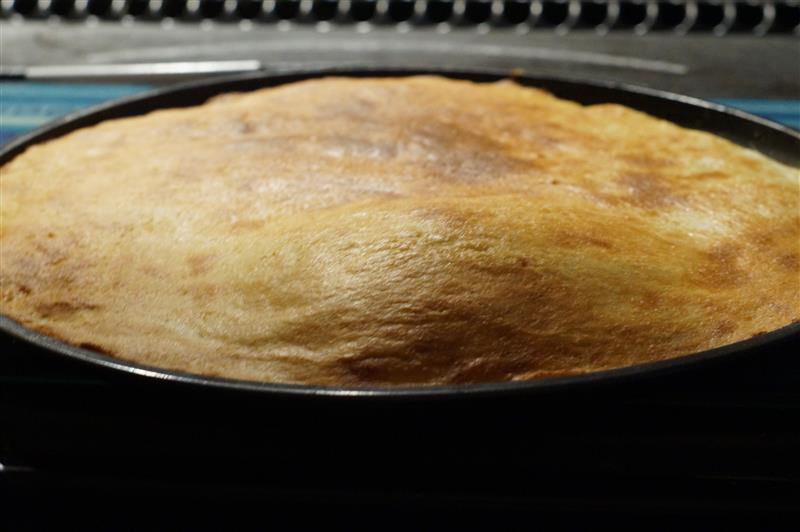 After 15 minutes take the base out of the oven…and then curse yourself if you – like me today – forgot to prick the base in Step 5. If you did forget then expect to see a raised bubble or two, as in the picture; use a fork now to prick the base to get the air out.
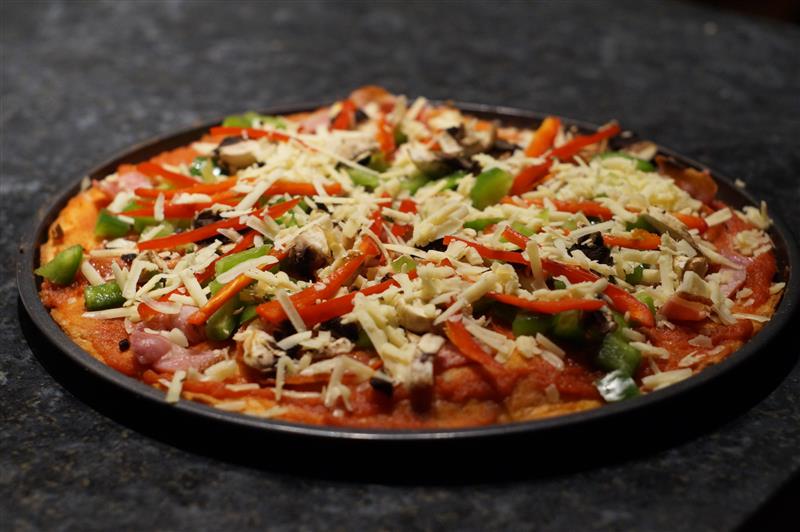
Step 8 – Make your pizza
 Spread passata thinly over the base then add your toppings.
Grate some cheese over all the toppings so it melts them all together.
Bearing in mind this whole pizza is made of cheese you may wish to not go overboard at this stage.
Step 9 – Bake your pizza
 Put the pizza in the oven at the same temperature as before.
Depending on your toppings it shouldn’t take long, I did tonight’s for just under 10 minutes.
Step 10 – Check and remove
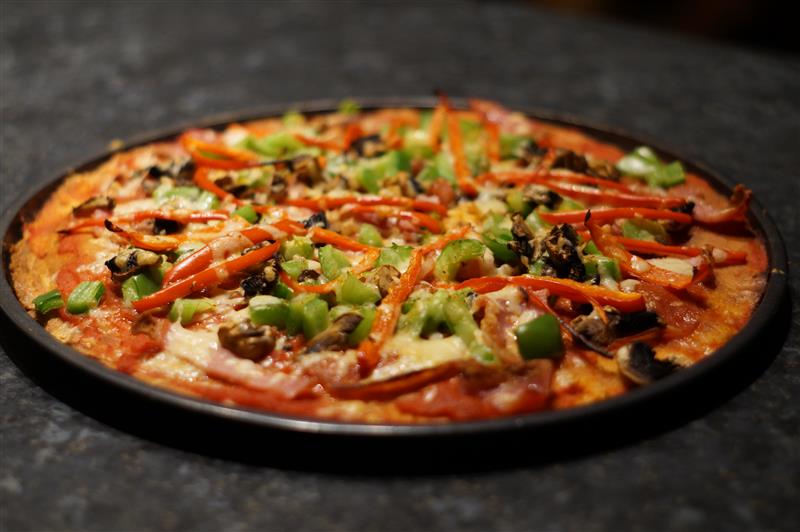 When your pizza is done, remove it from the oven and raise the corners of your lips towards your ears. Good job.
Step 11 – Eat
Enjoy.
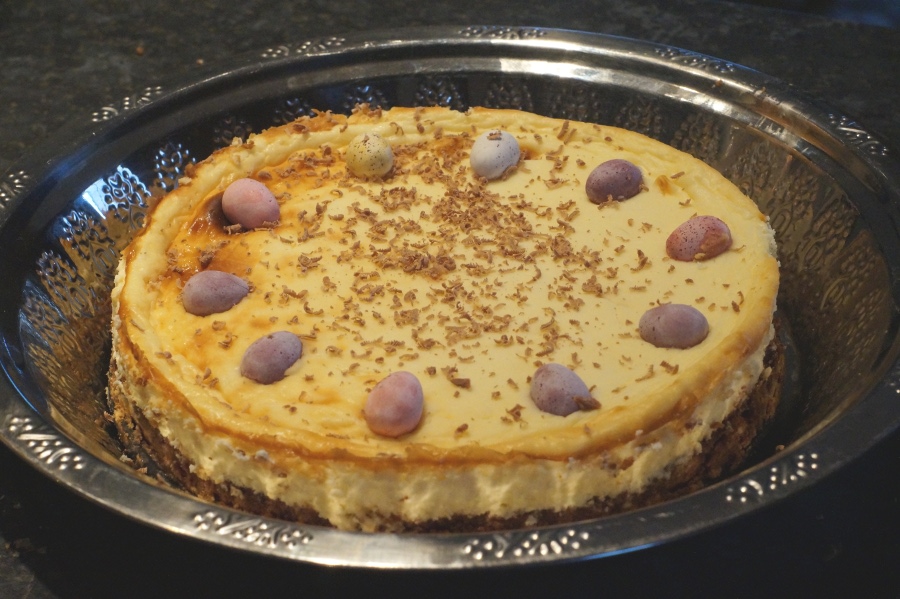

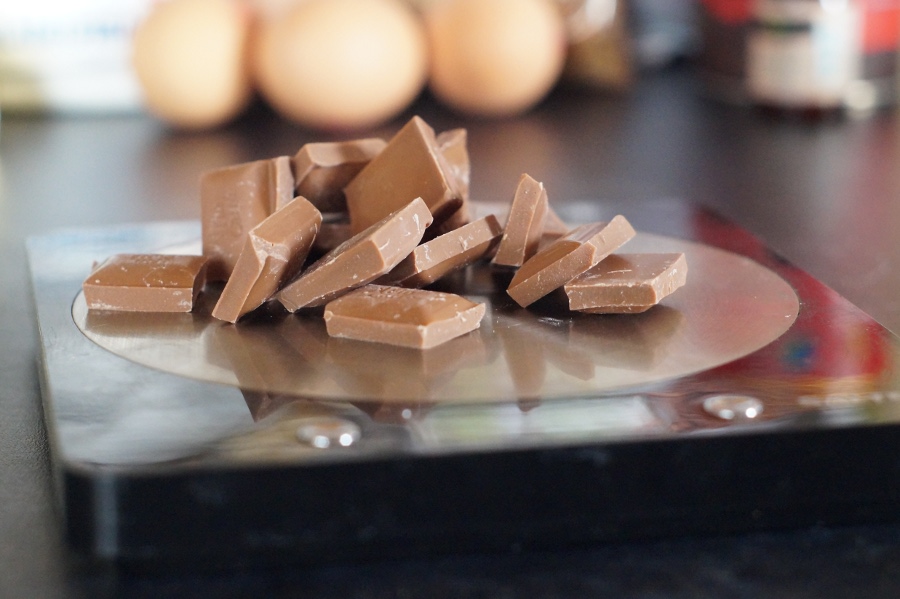 If only I’d checked the cupboards before deciding to make this cheesecake I would have noticed my stash of unsweetened or plain chocolate had disappeared. So a higher-carb substitute had to be used. In theory the darker the chocolate the less you have to use so darker is better in my opinion.
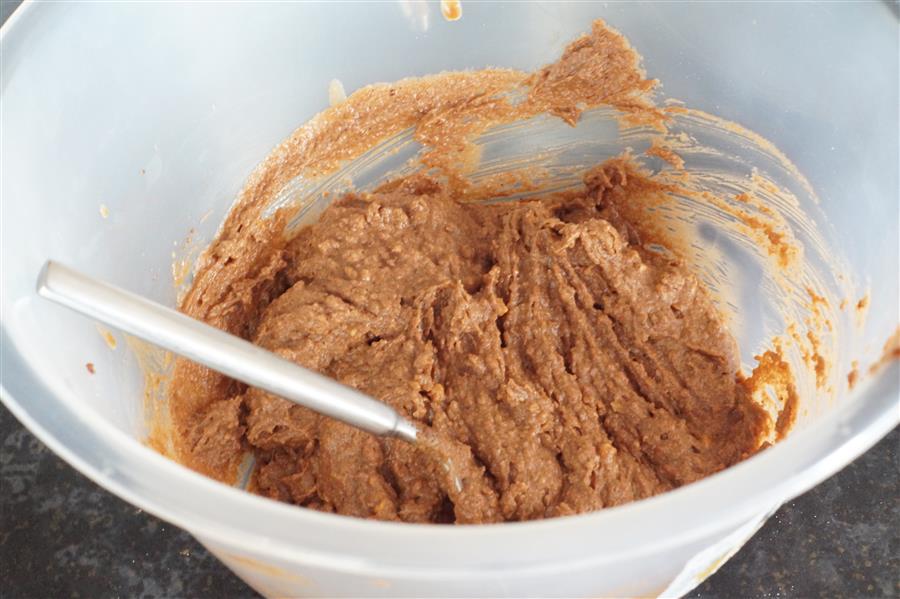 First, switch the oven on to 160C (fan) (325F, Gas mark 4).
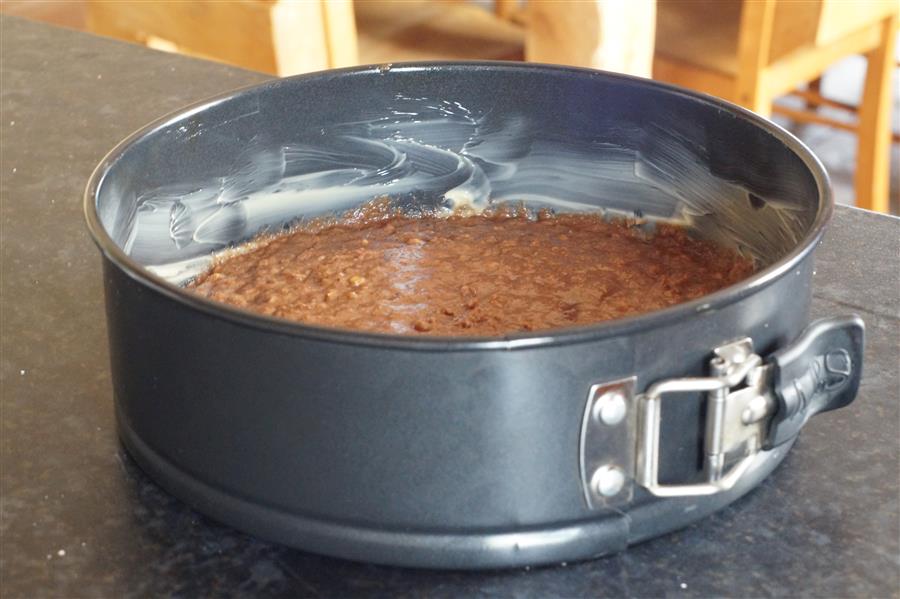 Turn the mixture into a greased 9 inch springform pan.
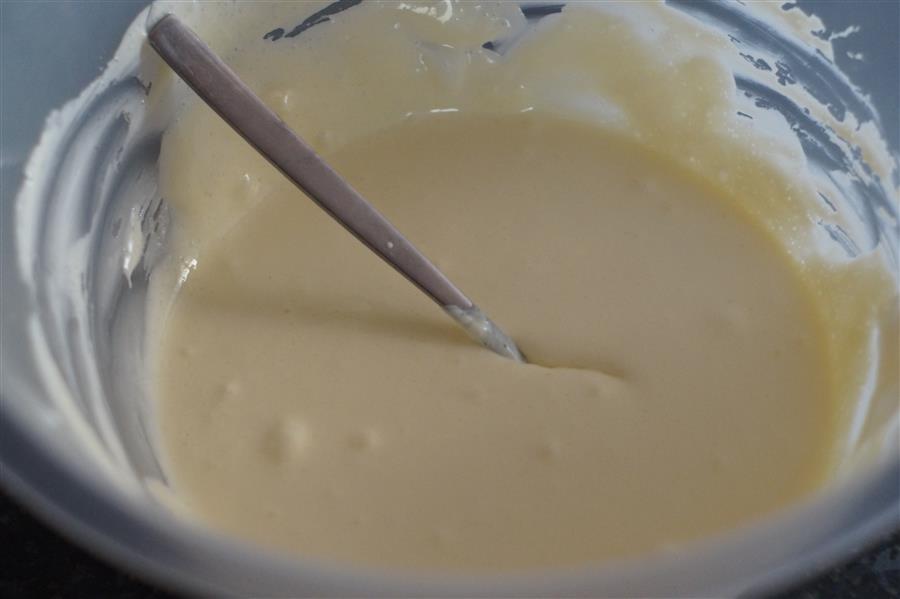 In a large bowl mix up the cream cheese until smooth.
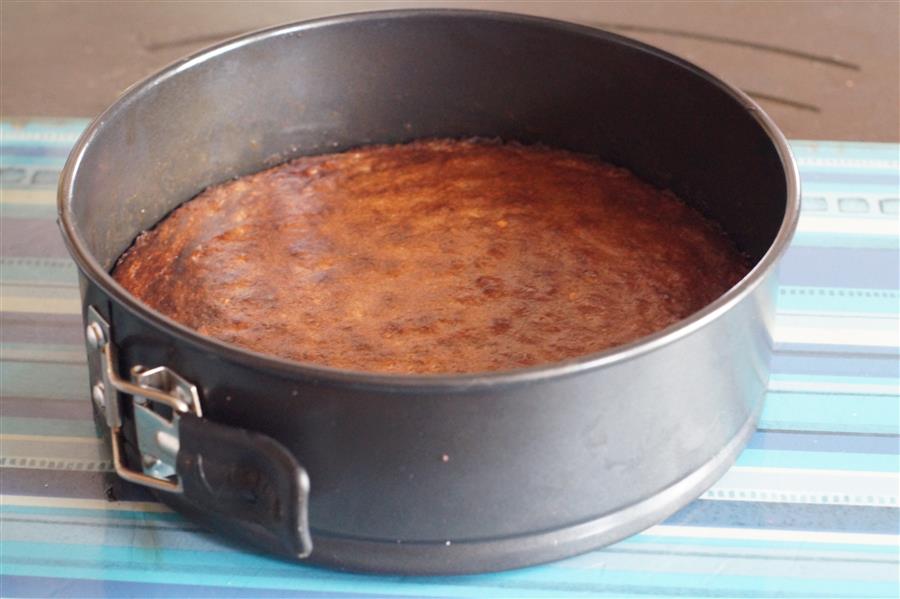 After 15 minutes the base should look like this.
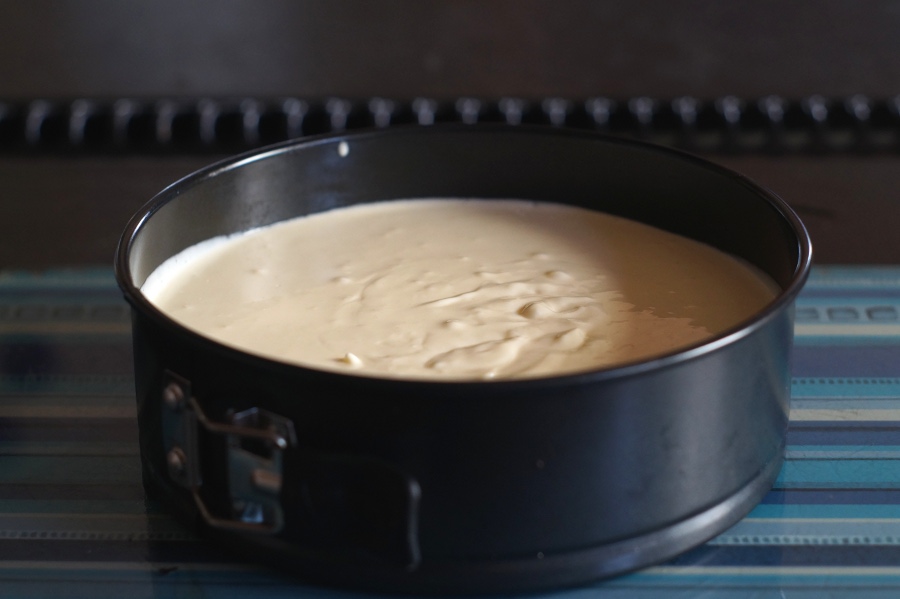 Spoon the filling onto the base and shake pan to even it out.
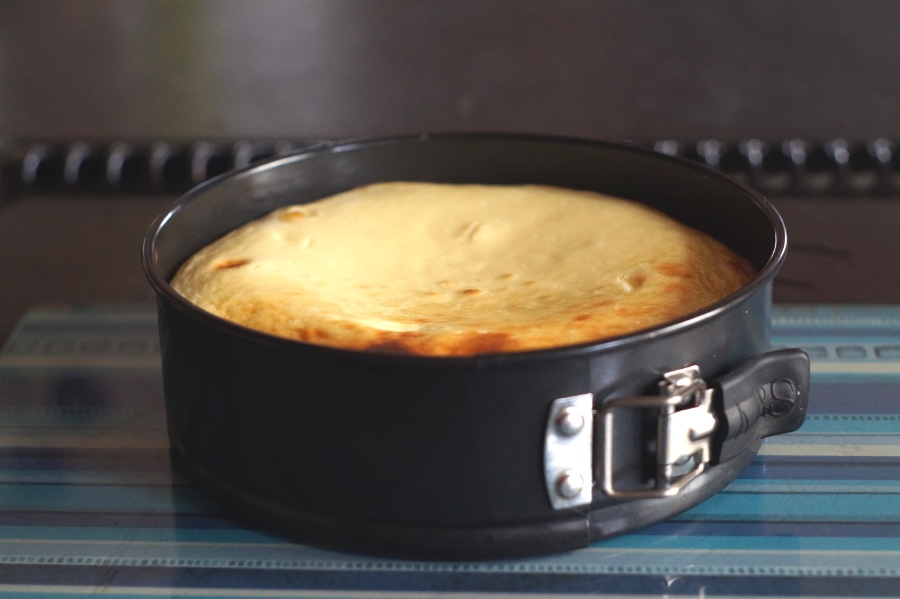 After 35 minutes the topping should move slightly when you give the pan a slight shake. If it moves a lot put it back in the oven.
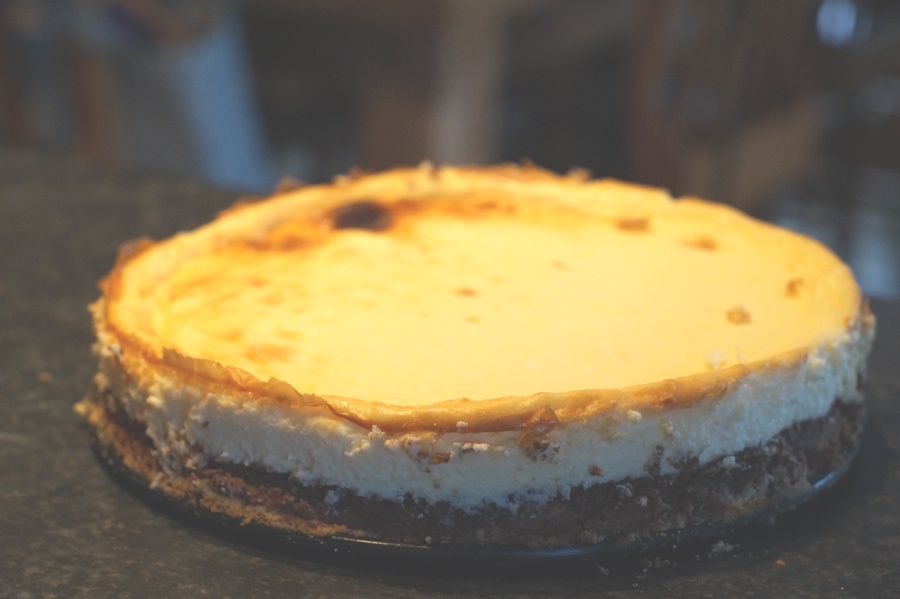 Remove from oven and let cool.