Rung five – first official pump demo – Roche Accu-chek Combo
After our carbohydrate counting training refresher yesterday morning we stayed at the hospital for lunch as we were due to have a demo. It was all a bit of a rush as we only had 40 minutes to each lunch and switch locations, something not helped by spending 10 minutes trying to decide which sandwich to buy: Amy hates sandwich fillings, there’s nothing she likes that a sandwich retailer would sell. Luckily after 10 minutes I spotted the jacket potatoes.
All fed and watered we went to our demo.
The waiting room
The pump demo was also being given to a husband & wife whose little 5 year old is also due to go on a pump after having diabetes for one year – they’d been sat next to us on the carb course.
Our DSN arrived with pump demonstrator Helen who was pulling a huge crate of pump supplies and accessories.
I understood that this was due to be an informal chat about the pump with one of Winchester’s nurses, so I was very pleased to find out Helen is one of Roche’s pump specialist nurses. This was good news, we were likely to find out far more information than I originally thought.
First look
Helen gave both families a demo box containing the pump and meter. The sturdy looking box had been prettified, kiddified, to aid presentation but Amy opened it up faster than she unwraps Christmas presents and started playing with the pump straight away.
Amy stole ours, I didn’t get a look in.
Helen demoed the functions to us, a job made easier as both families were already using Roche’s Accu-check Aviva Expert meter, which turns out to be virtually the same meter as used with the Combo pump.
Roche had clearly been quite clever with releasing the meter for non-pump users as it makes the transition from their meter to their pump so much easier for everyone: the nurses; the parents; the kids. Helen told us that the meter was originally released for the pump and later amended to work for people on injections.
The meter – we love this meter
Amy had been using the Accu-chek Aviva Expert meter now for some time and it’s been great for her/us because of its bolus advisor.
To explain the testing/calculating/eating scenario which people with diabetes go through every day:
- 1. test their blood glucose
- 2. calculate the carbohydrates in the food
- 3. calculate how many units of insulin they need for the meal, often using pen and paper (as we need to divide by 13 or 12 depending on the time of day)
- 4. adjust the insulin amount depending on whether they’re high or low, and figuring out whether they already have insulin in their body which is still ‘active’ or ‘on-board’ as we all say.
- 5. inject insulin. which can be broken down as follows:
- 5.1. find the correct insulin pen containing the fast-acting insulin
- 5.2. place needle on the pen
- 5.3. do an ‘air-shot’ removing any air in the new needle, we use/waste 2 units of insulin for this.
- 5.4. Amy needs a quiet uncrowded place, which takes time to organise
- 5.5. remove clothing if required
- 5.6. inject insulin, counting to ten whilst the needle is in.
6. finally they can eat.
Diabetes is exhausting, you can see why.
Using this meter the process is simplified:
- 1. test blood glucose
- 2. calculate carbs and enter it on the meter. The meter tells you exactly how much insulin you need to take, using your ratio for the time of day and taking into account any active insulin
- 3. inject insulin, using steps 5.1 through 5.6 above.
- 4. eat.
If you’re on MDI (multiple daily injections) then I suggest you take a look at this meter, it really does make life easier, so much so that I can’t understand why anyone on MDI wouldn’t use it.
The only key difference between the Combo meter and the Expert is the addition of a ‘pump’ settings menu, where you can set the various bits to do with the pump.
Helen demoed the meter, a few seconds behind Amy who’d already sussed it out, without any explanation.
Amy hadn’t really listened to Helen but I could see that Amy had already given a bolus for the virtual 225g she’d eaten and the pump whirred away quietly giving it’s virtual insulin, or air as we like to call it.
So within minutes Amy had already become proficient enough to use the pump. There’s obviously more technical stuff to learn but the simple stuff is just that: simple.
The pump
The pump itself is quite small measuring roughly 8cm x 6cm by 2cm and weighs in at only 110g when full of insulin.
Like the Ford Model T car you can get it in many colours such as black, black or black. They do give you lots of stickers to customise it with though.
So, from the outset it’s not quite as pretty as the Animas Vibe which comes in multiple colours but doesn’t that matter? Should you ever choose a medical device based on its colour? (I’ll avoid the obvious jokes and women and cars at this point.)
The pump is waterproofed as much as any other pump but for some strange reason Roche suggest you don’t get it wet, just in case the casing has cracked after leaving the factory. This is certainly not a plus point for this point; they might as well tell us it’s not waterproof.
The pump runs on an AA battery which they supply, but more importantly they’re available everywhere. If you run out at any vital point the chances are you can at least borrow a battery from a remote control or camera or something.
The pump should last up to 25 days on a single battery.
The infusion sets
Helen demoed the three types of infusion set – the part that sits on and in the body with its little canula.
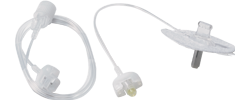
Rapid-d
Rapid-D Link: The first set is very small as has a metal cannula either 6mm, 8mm, 10mm or 12mm long. The great thing about this set is that you just hold it as you would for an injection and push it in the skin. Helen demoed it on our DSN – lucky her! – who I’m glad to say didn’t move, cry or scream. The only downside I could see was that it has a trailing bit of tube, a few inches long, which will always be there, even if you disconnect the pump to go swimming etc..

Flexlink
Flexlink: The second infusion set was the called the Flexlink. It was the one Amy had seen before; the one which made her realise her fears of something metal inside her didn’t need to stop her from getting a pump. The Flexlink features a soft teflon cannula which can be disconnected at the infusion set, without any trailing tubes once disconnected. It’s great that it’s got a teflon cannula, it solves Amy’s issue, but there is a downside: being flexible means it needs to be inserted with a special inserter. This didn’t bother us as the process seemed very quick as Helen inserted the set on/in her, but the other family quite rightly said ‘oh great, another bit of equipment to carry around’.

Tenderlink
Tenderlink: The third infusion set was called the Tenderlink and gives the benefit of being able to insert it at an angle, especially useful for fit/lean people who have less body fat. It’s inserted by hand at any angle between 20 and 45 degrees. Once in the needle within the cannula is easily removed and the pump tubing clipped on. Honestly though that needle looked huge and I can’t imagine Amy doing this herself. I’d previously told Helen about Amy and fears of metal cannulas and this one is the one when Helen told Amy not to look, I can see why.
Easy choice: It was a simple choice, Flexlink it would be if we go for a Roche pump. Insertion is easy with the tool which makes it nigh on impossible to get wrong; the soft teflon cannula cures Amy’s needle-in-the-body fears. I can imagine Amy being able to do this set change herself without problem.
Downsides
In my mind there’s only one downside to this pump: it has no ability to work with a CGM (continuous glucose monitor). Helen said it never will and that any other devices from them aren’t likely to reach the market place within the next couple of years.
This isn’t a massive downside as such as it’s always possible to purchase – for example – a Dexcom G4 CGMS but you’d have to fork out £650 for the Dexcom’s display unit, something you would not have to do/spend if you had an Animas Vibe, as it’s built in on that device.
When you take on a pump it’s a 4 year plan, you can’t upgrade (I asked) if a new better pump comes along. Amy’s 12 at the moment and over the course of the next four years will go through some of the most glucose-challenging years possible. She’ll take GCSEs for probably three years on the trot and it would seem a CGM during these times would be incredibly useful.
For those reasons I’m very interested in self-funding CGM, even though it’s incredibly expensive (up to £240 per month). We’d probably only use the CGM when required, to save money, but I’d really like the possibility of doing it, without having to fork out £650 for G4’s monitoring device.
Covert bolusing via Bluetooth
This has got to best the best selling point about the Combo; I can imagine they win over their competitors so much because of this.
The meter is connected to the pump via Bluetooth (ooh Bluetooth says my inner geek).
After the user has done a blood test and entered the meal’s carbs on the meter they press one button and the pump is instructed to deliver the insulin. That’s it!
(In reality there’s lots of bolusing options but for a simple bolus it’s a single button.)
So what that means in reality is that the pump does not need to be accessed. If it’s hidden under clothing, or wedged in a pocket, it doesn’t need to be removed, or touched.
You tell me a 12 year old who doesn’t think this is cool.
CGM or not this pump is the strongest contender at this stage. Medtronic is out IMO so only the Animas Vibe can beat this one.
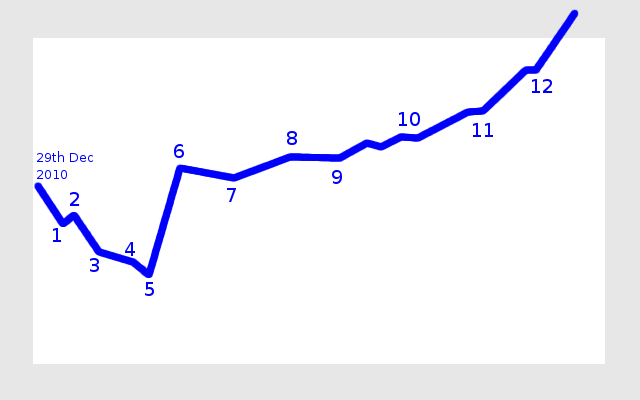

 My view of our diabetes journey
 Download my “How social media helps us with Type 1 Diabetes” leaflet
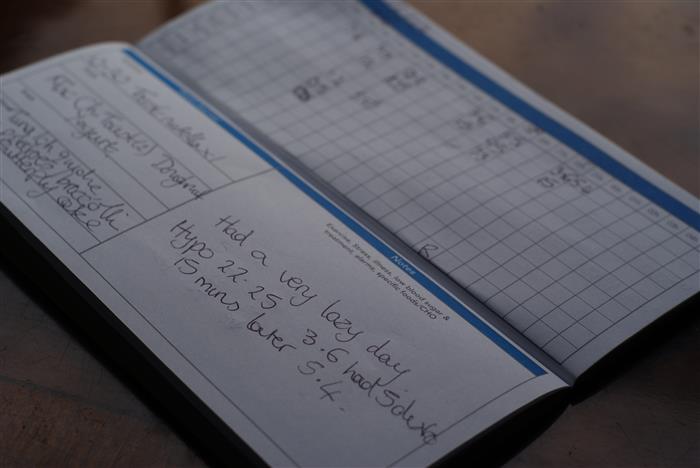 the log book page for 23rd June
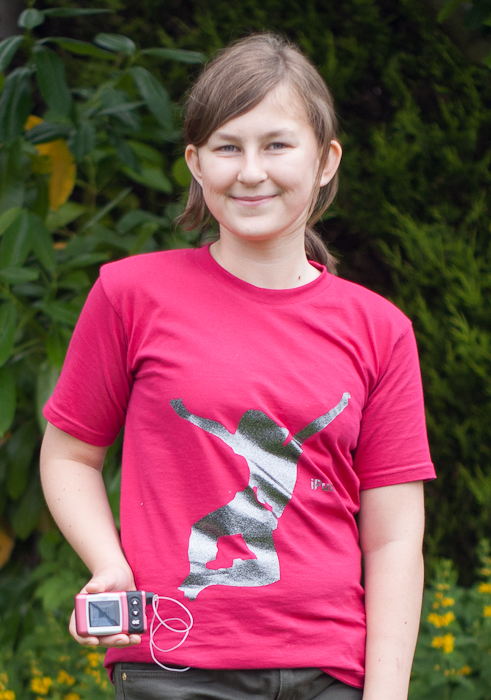 Amy and her new insulin pump and her new DiabeTees iPump t-shirt
 Amy awoke excited at what the day would bring.
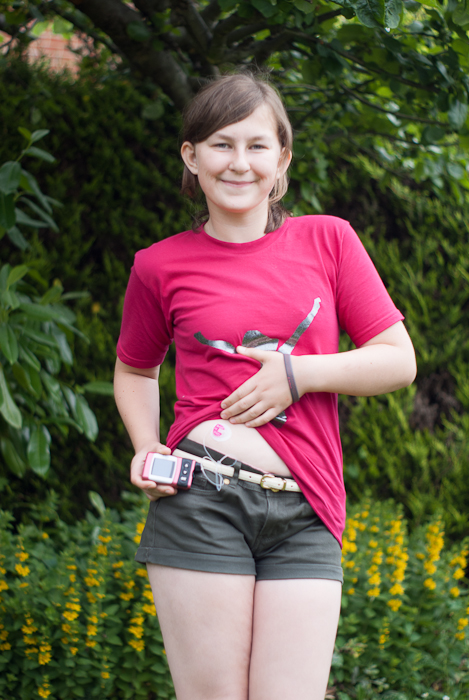

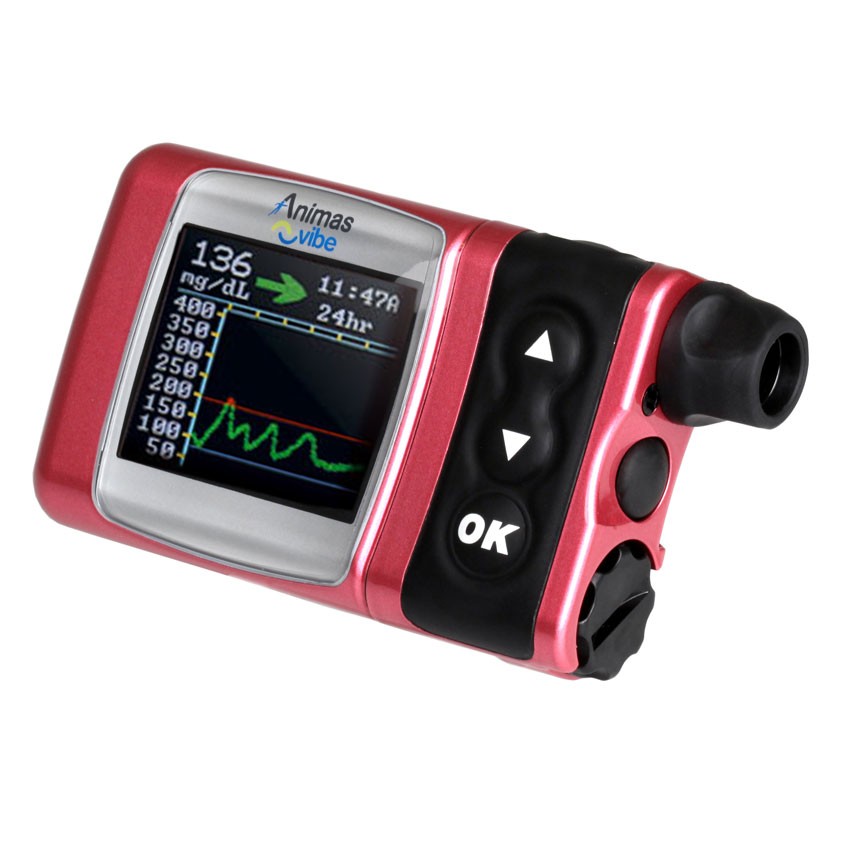 Animas Vibe insulin pumps
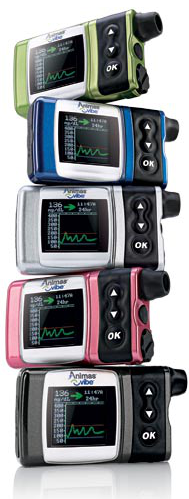 Animas Vibe pumps
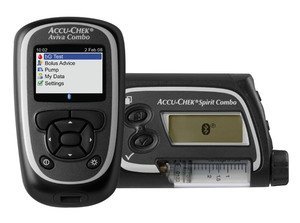 Roche Accu-chek Combo pump and meter
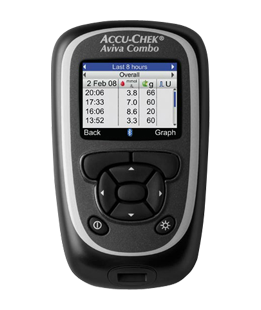 Accu-chek Aviva Combo meter, almost identical to the Aviva Expert
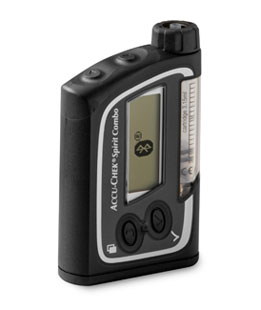 The Accu-chek Spirit Combo pump
 Rapid-d
 Flexlink
 Tenderlink
 The NHS Eatwell plate.
  There’s many rungs on the ladder towards the pump