xDrip logo on left, Nightscout logo on right
As you can see xDrip loves Nightscout
NOTE: xDrip used to be called DexDrip so you might find some references to the old name in this article.
Okay, I’ll own up, I know I shouldn’t be so excited about this but I am.
This is a game changer, for us and many, many more.
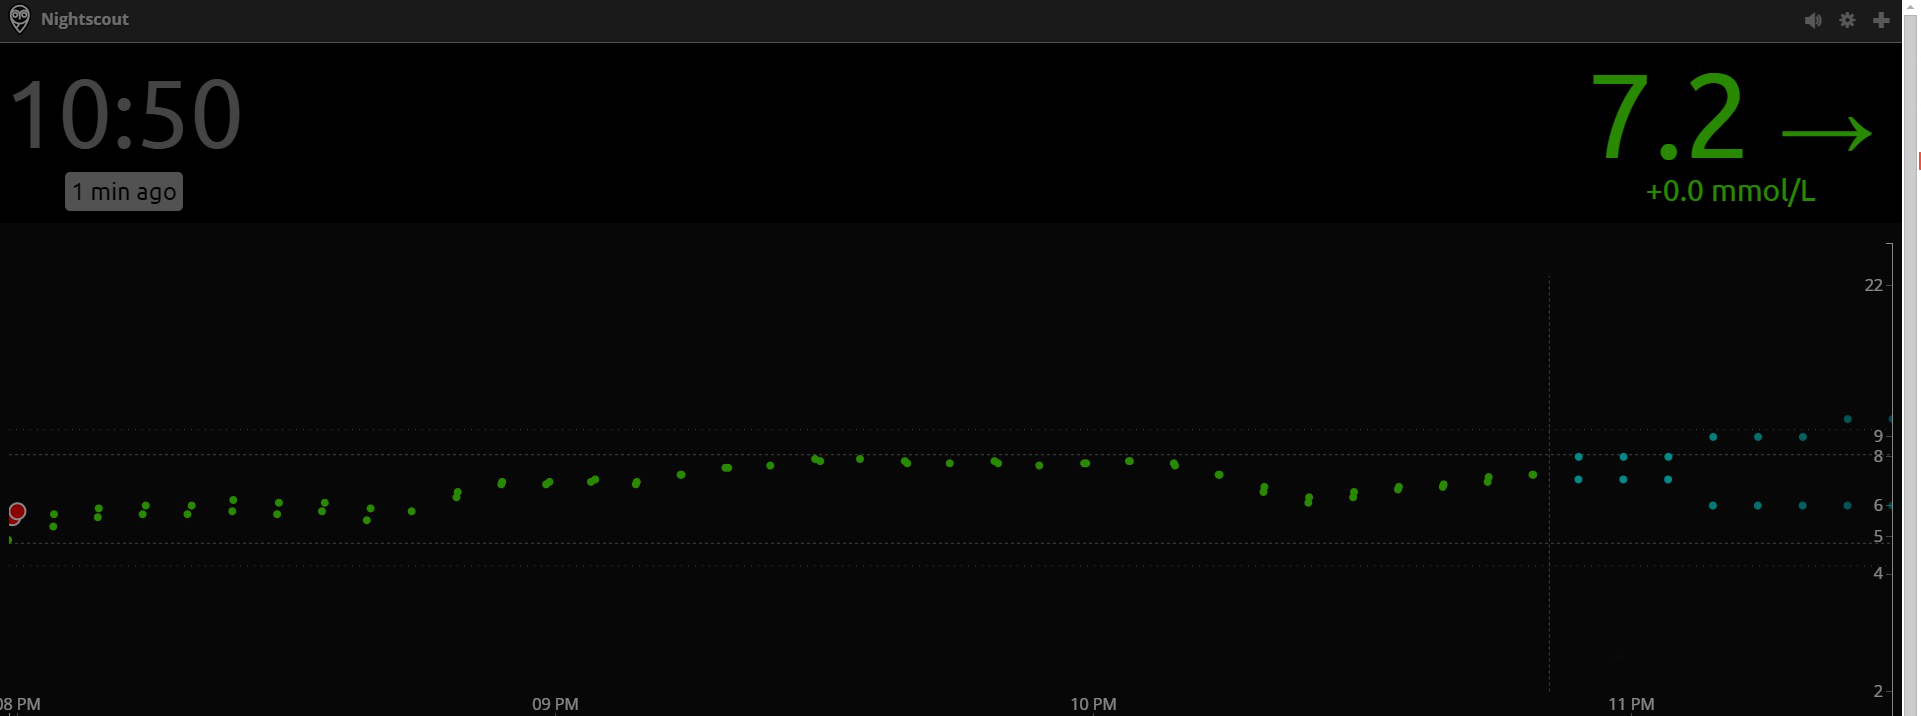
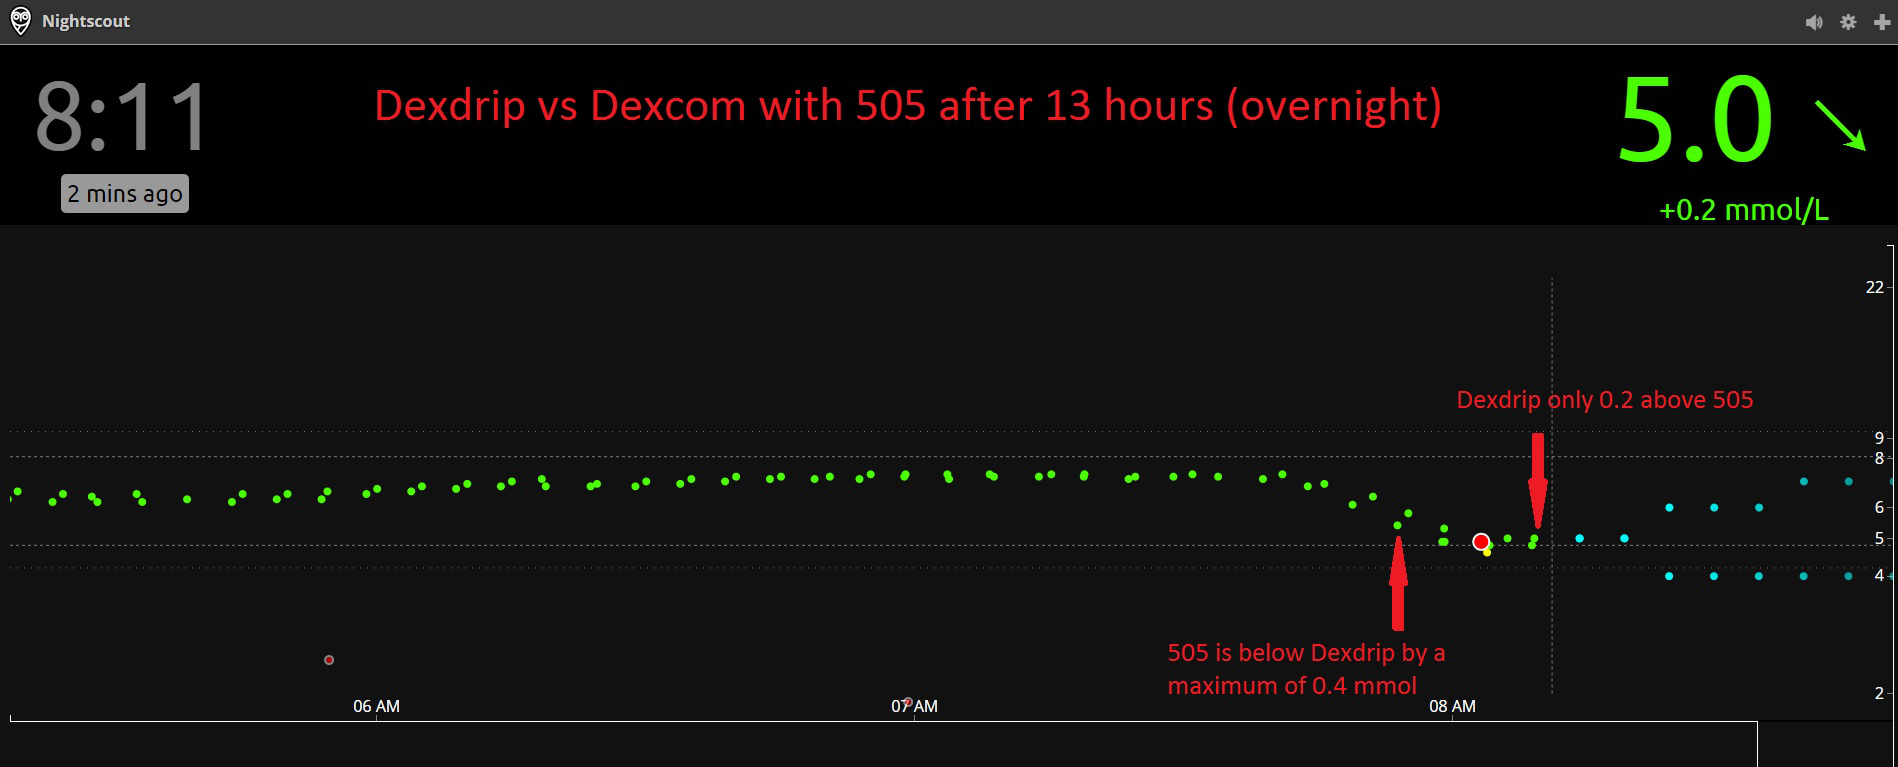
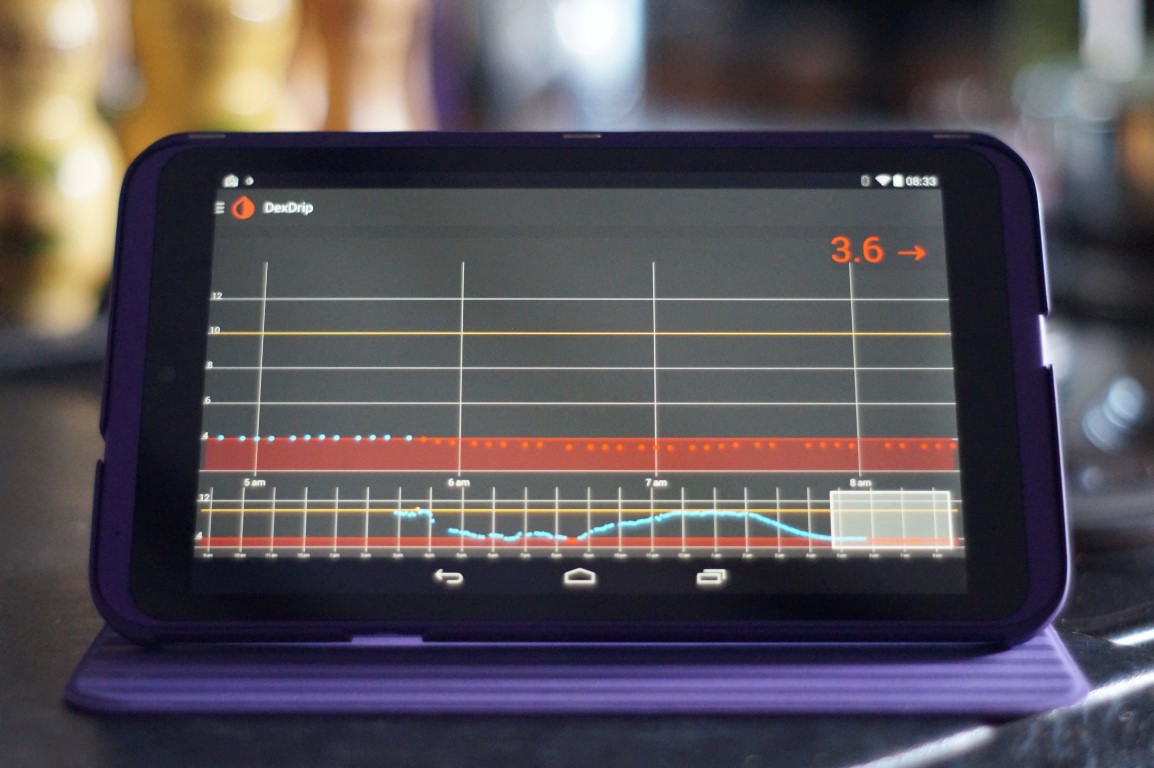
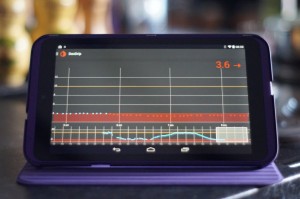
It proved its worth within 24 hours when I saw Amy was hypo whilst sleeping (see below). Amy wouldn’t have woken up and tested her blood glucose for another 4 or 5 hours but by having xDrip working I saw that she needed some glucose tablets to raise her blood glucose levels. 5 minutes later she was back asleep…for four more hours. #Teenagers!
Interested in further posts about this subject? Why not like
this blog’s Facebook page and get notified of updates, or click ‘Follow’ using the button at the bottom-right of this page.
PLEASE READ THIS ADVISORY
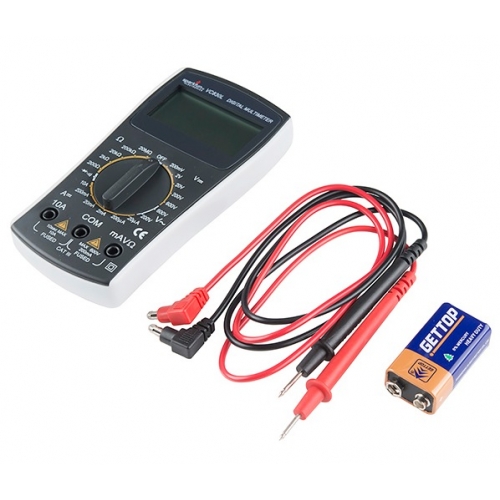
a) Never make a medical decision based on a reading from any CGM device, whether certified (eg Dexcom) or not (eg xDrip). Always perform a fingerstick blood glucose check first.
b) xDrip is a DIY product, decide for yourself if you wish to use it. Build it, test it, test it again and use (if you want to) in conjunction with a certified receiver.
c) The fact that it is working for us does not mean it’s right for you.
d) Never build a xDrip for anyone else and never sell one.
e) The blogs are provided for information only. We are not endorsing it for use by others, nor promoting it, just merely publishing our information as well as answering questions from previous blog articles.
 So what is xDrip?
xDrip is a combination of a device and a software application which receives data sent out by a Dexcom G4 CGM transmitter/sensor and displays the glucose readings on an Android phone. The app can also upload it’s data for use by Nightscout, which in turn means glucose readings are available on the internet via a PC/Mac, phone or even a smart watch (Pebble etc.).
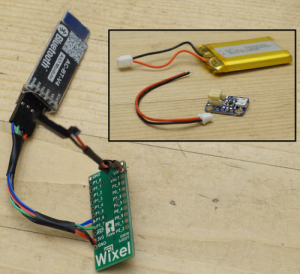
xDrip is made up of two things:
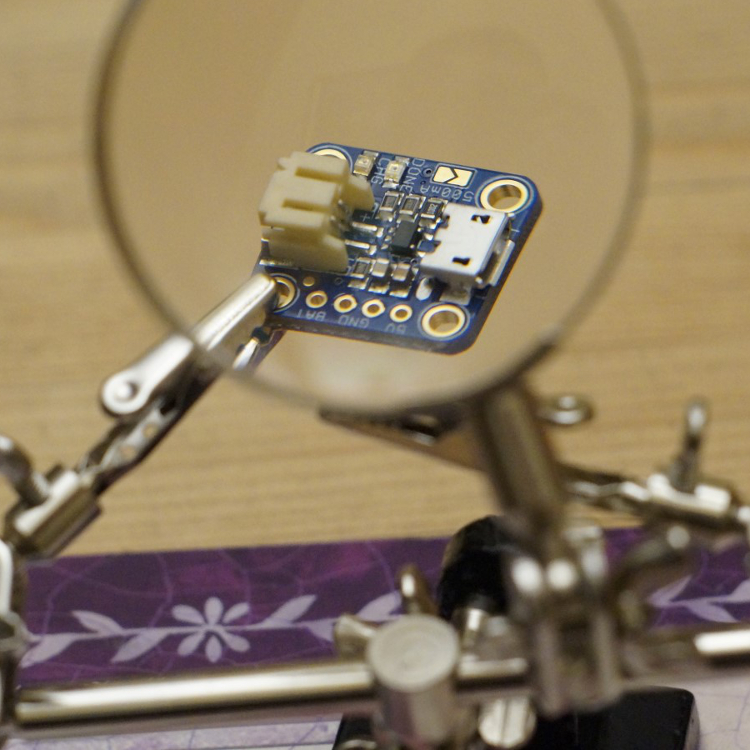
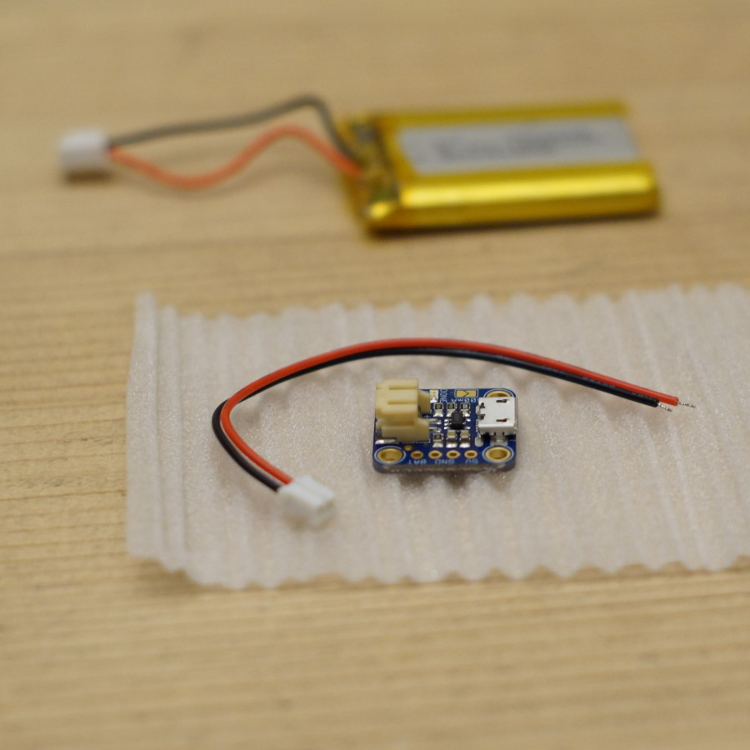
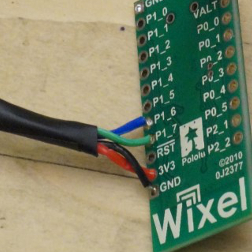
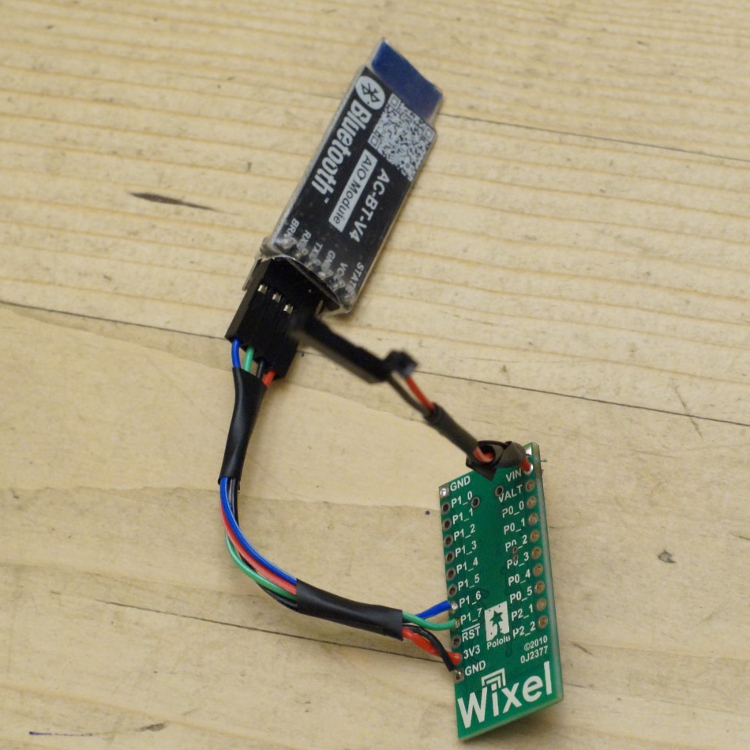
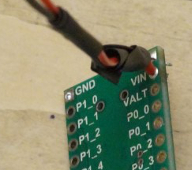
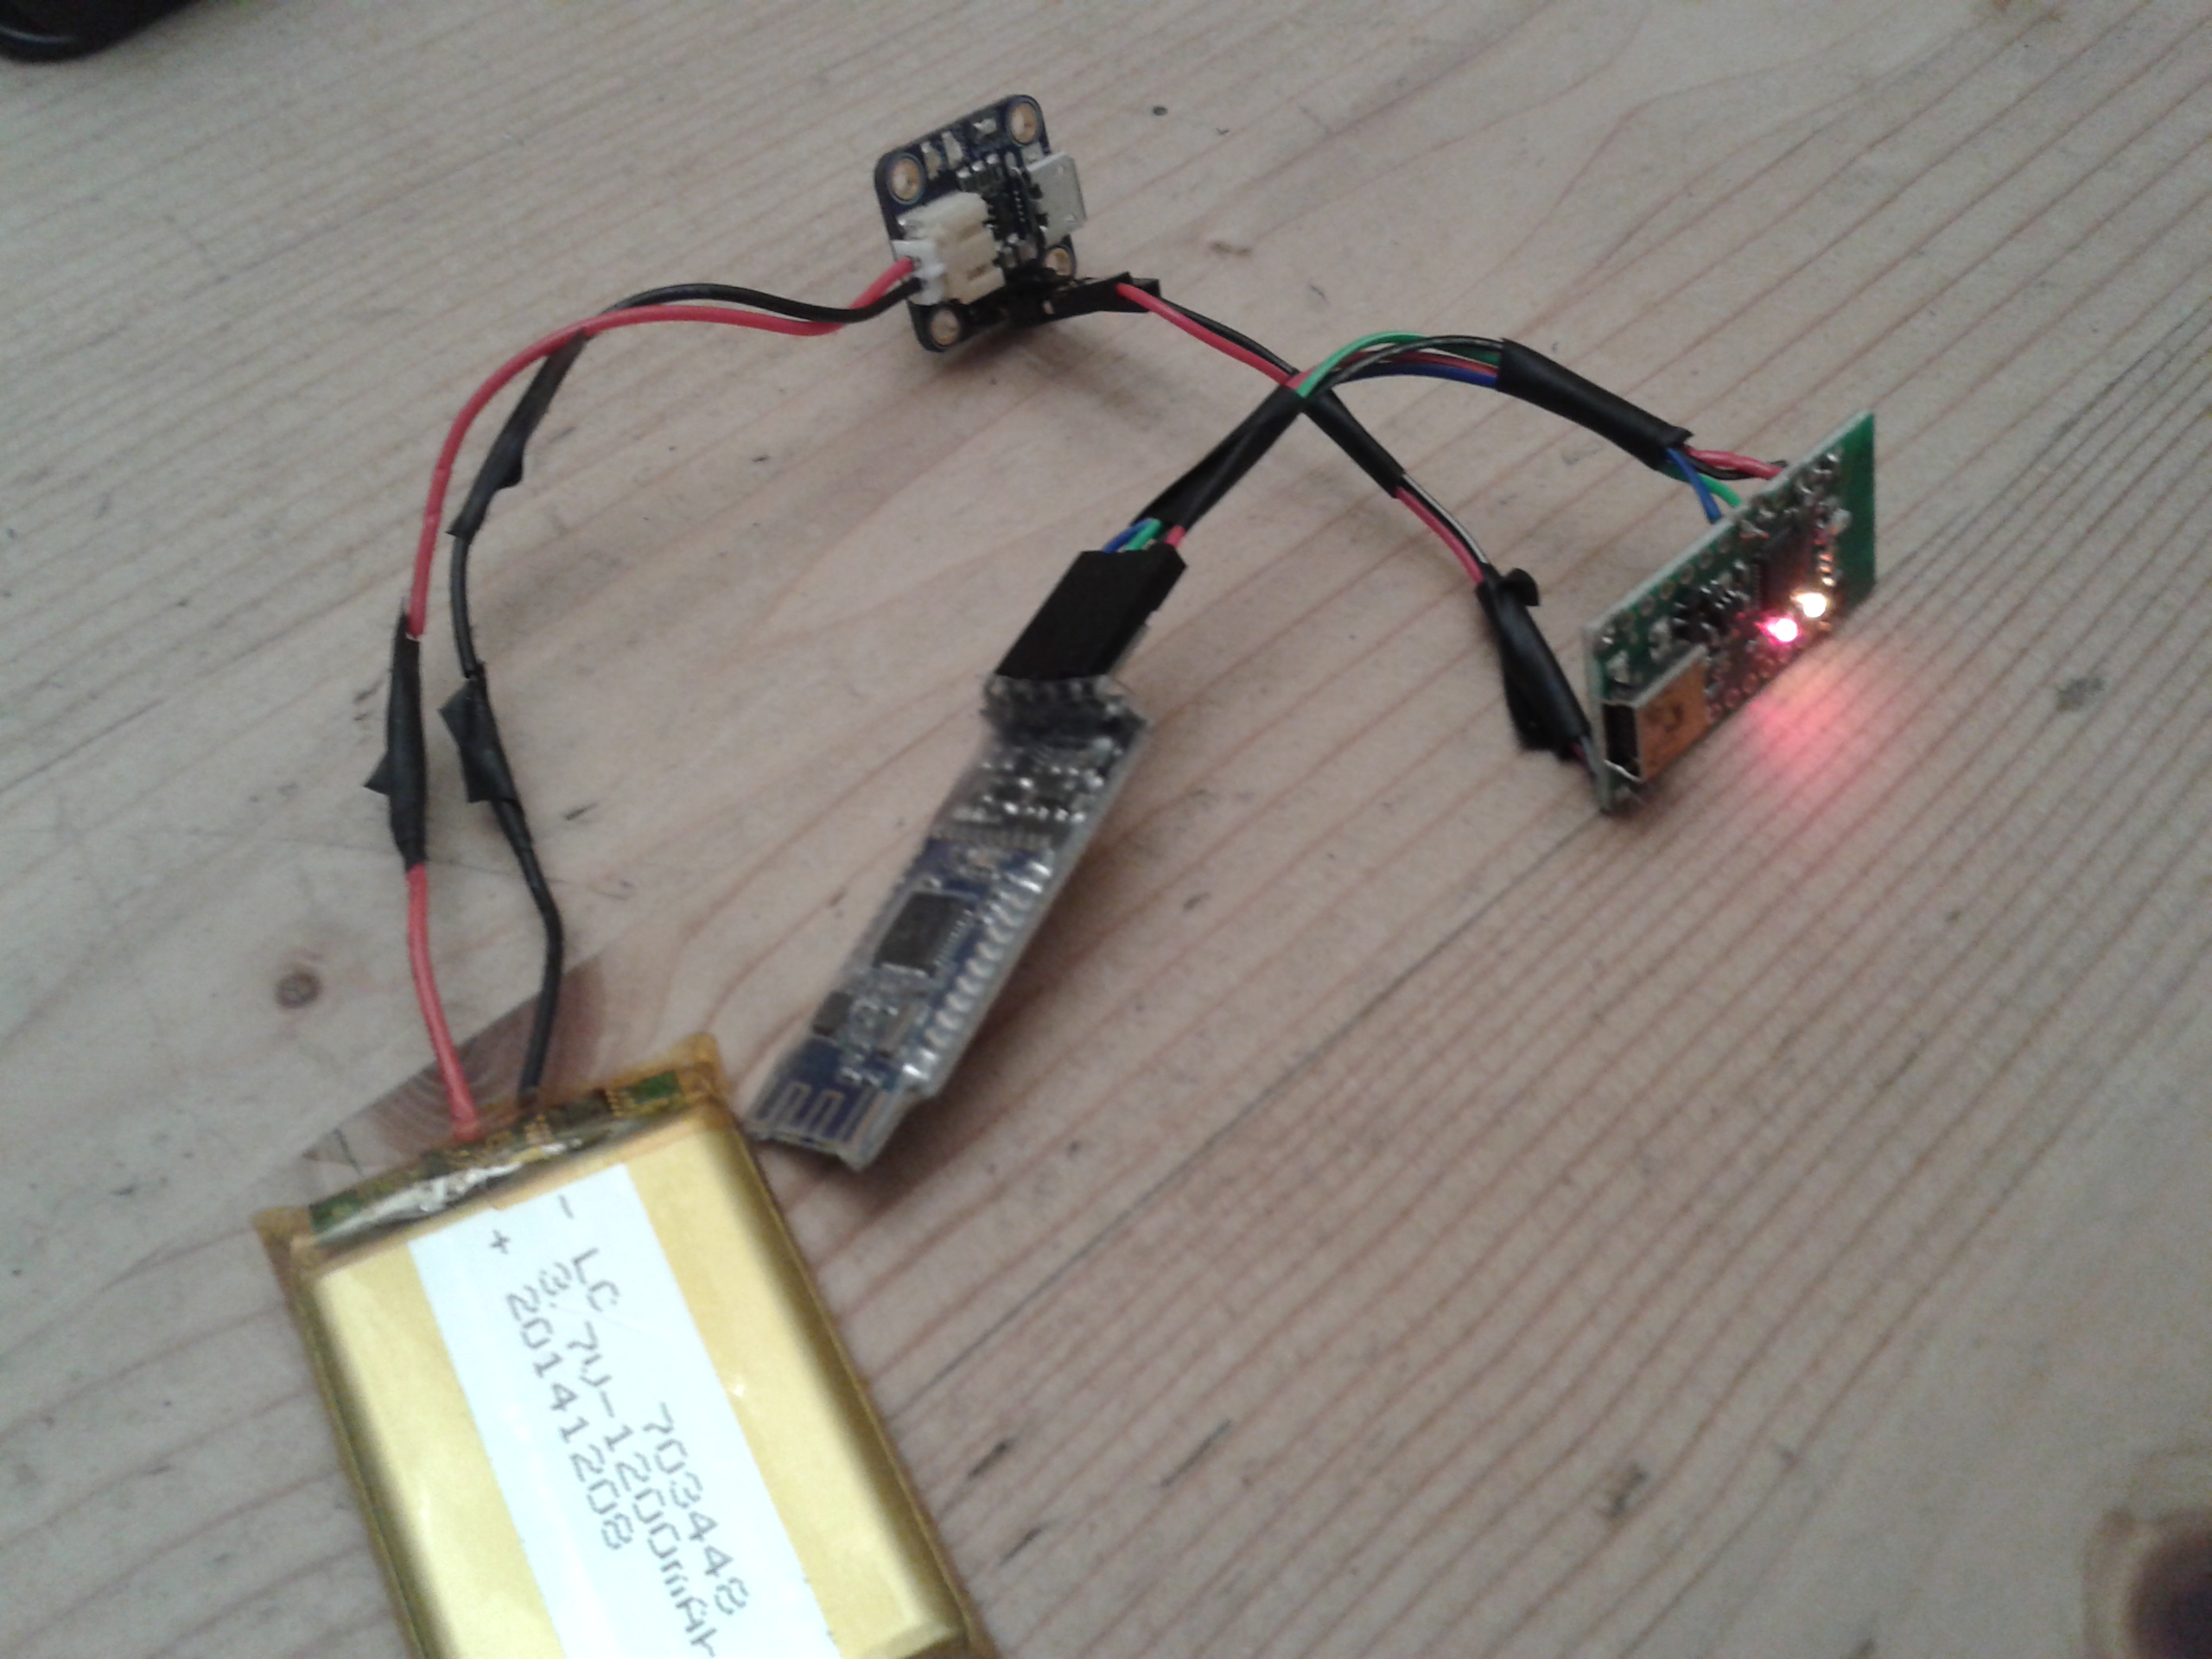
1. The first is a do-it-yourself device, made up of four components which you can buy off the Internet and solder together. Total price is about £40 including battery. (That’s a partially made device on the right).
2. The second is the xDrip application which runs on Android phones (4.3+above with Bluetooth Low Energy (BLE) support). The app uses the xDrip device to read the output from a Dexcom CGM (continuous glucose monitor) sensor/transmitter. xDrip links up to existing Nightscout databases. The xDrip app can feed the data to a Nightscout database, which in turn means the data can be accessed via the Internet practically anywhere, using a PC/Mac, laptop, smartphone (Android/IOS/Windows) or better still a SmartWatch.
Wait! What? Nightscout? BLE? CGM? Dexcom? Animas?
Okay, it’s probably a good time to go over some of the common words I’ve used in the article. I’ll presume you’re already aware of insulin, insulin pumps, glucose levels and the world of Smartphones.
Animas – Animas is a company that makes insulin pumps. My daughter Amy has been using one of their pumps – called the Vibe (yeah, yeah, I know!) – since since June 2013. We chose the Animas Vibe specifically because of it’s use of Dexcom’s CGM system, although it turned out to be a whole year before we got the chance to use CGM.
BLE – is a version of the Bluetooth communication protocol which uses a low amount of energy, which means devices can work for longer without charging. Android has built-in support for BLE from version 4.3 onwards.
CGM – Continuous glucose monitor. A device which regularly samples the glucose level of its wearer, sampling the glucose in the interstitial fluid, not the blood. If you’re new to CGM perhaps take a look at this blog of mine: CGM: we’re live with Animas/Dexcom.
CGM-in-the-Cloud – is a term for any CGM which can be connected to a web site to allow for remote monitoring of someone’s glucose levels. It’s pretty big in USA, not so much over in Europe. A big player in this is Nightscout (see below).
Dexcom – Dexcom is one of many manufacturers of CGM systems. We use Dexcom because it’s linked with Amy’s Animas Vibe pump, if we’d got a Medtronic pump we’d use their Enlite CGM system. One benefit of Dexcom’s CGM appears to be that the sensors last longer – which is a big thing for us (who pay for CGM ourselves) as it lowers the total cost of using CGM. For the record I don’t believe Dexcom is any better than the new Medtronic Enlites.
Nightscout – Nightscout is “an open source, DIY project that allows real time access to a Dexcom G4 CGM from web browsers via smartphones, computers, tablets, and the Pebble smartwatch. The goal of the project is to allow remote monitoring of the T1D’s glucose level using existing monitoring devices.” In short Nightscout and the people behind it are awesome.
Who should we thank for xDrip?
Not me that’s for sure.
xDrip is the brainchild of Stephen Black, who was recently diagnosed with Type 1 Diabetes. With the help from others in the CGM-in-the-Cloud community Stephen has designed the xDrip device and written the software.
I think he deserves a big round of applause.
So how does it work?
- Dexcom sensor reads glucose level
- Dexcom transmitter sends out data from sensor, like a split second radio broadcast
- The xDrip app (on Android phone/tablet) controls the xdrip device to listen for and receive the Dexcom data.
- The app displays information about the person’s glucose levels now and over the last day or so, indicating whether it rising or falling or staying level
- If required the app can upload the data to a Nightscout database. We didn’t do this initially but set it up within the first week.
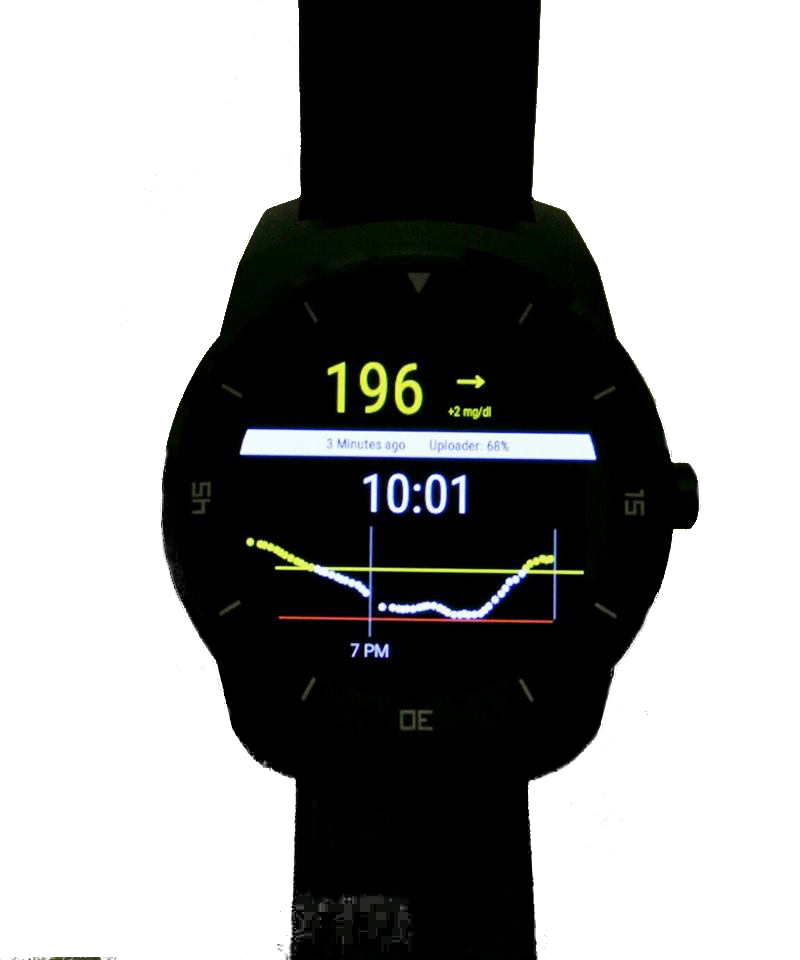
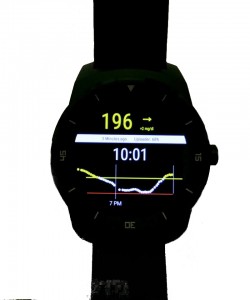
- If using Nightscout parents (etc.) can view Nightscout info on a PC/website/smartwatch, like on the right. I’ve seen some great pictures of parents looking at their kid’s glucose level being displayed on the parent’s Pebble watch whilst the kid does some activity with their friends.
- A further step is the use of another Android/smartphone application named Nightwatch, also written by Stephen. It relays information from the Nightscout data onto a secondary phone and potentially on to a smartwatch.
That’s Stephen’s SmartWatch above/right, showing the glucose levels on mg/dl (so don’t panic UK people).
Stuff you’ll need before using xDrip
- Dexcom G4 CGM system, including transmitter and sensors.
- An Android phone or tablet running version 4.3 or above and the ability to use BLE.
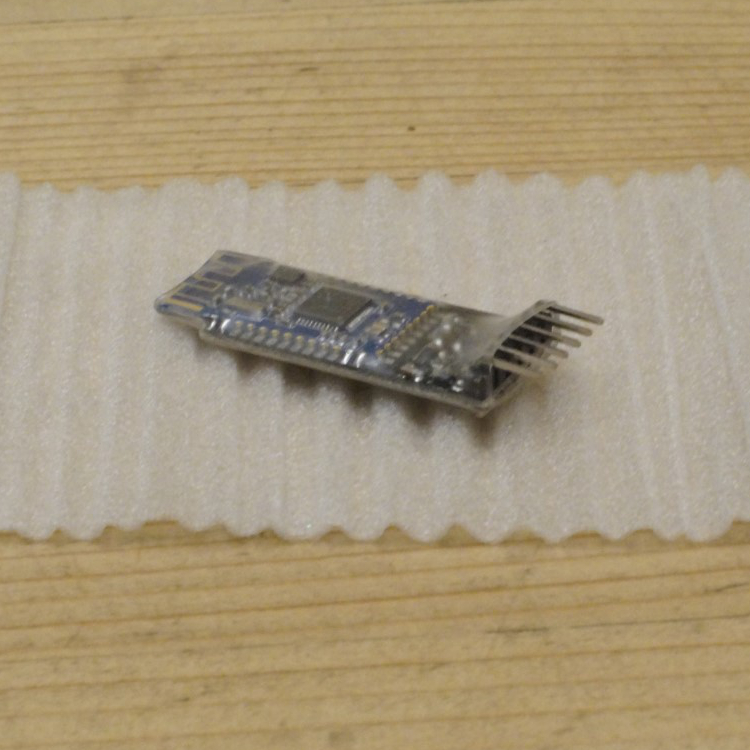
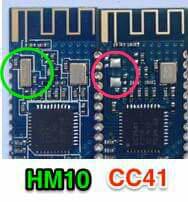
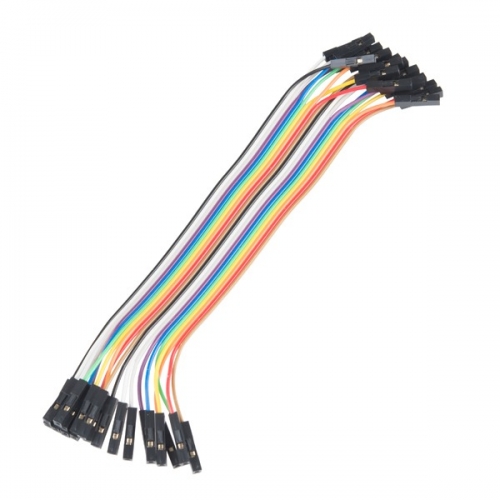
- Components for the xDrip device (Wixel (£14), LiPo battery (£6) and charger (£6), BLE module (£15) and some wires to link it all together.
- A case to put all the components in. (Yes I really must buy a case soon.)
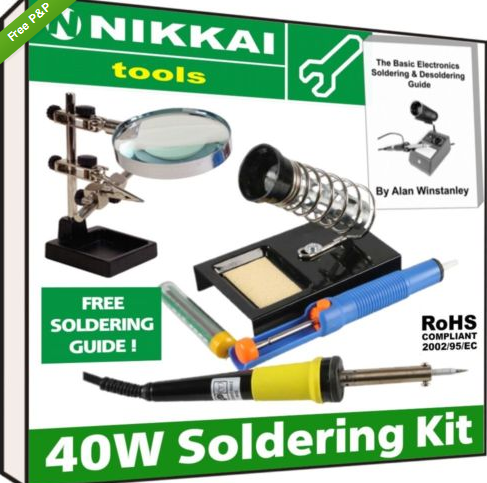
- A soldering iron or a friend/relative with one. I bought one off eBay for £12 including the iron, solder, iron stand/sponge and magic hands with magnifying glass.
- A bit of patience. I didn’t have any but on reflection it would probably be a good thing.
In this next blog I detail the components I bought, which are pretty much the same components Stephen Black (the creator of xDrip) used.
Is this really a do-it-yourself project?
Yes. Definitely.
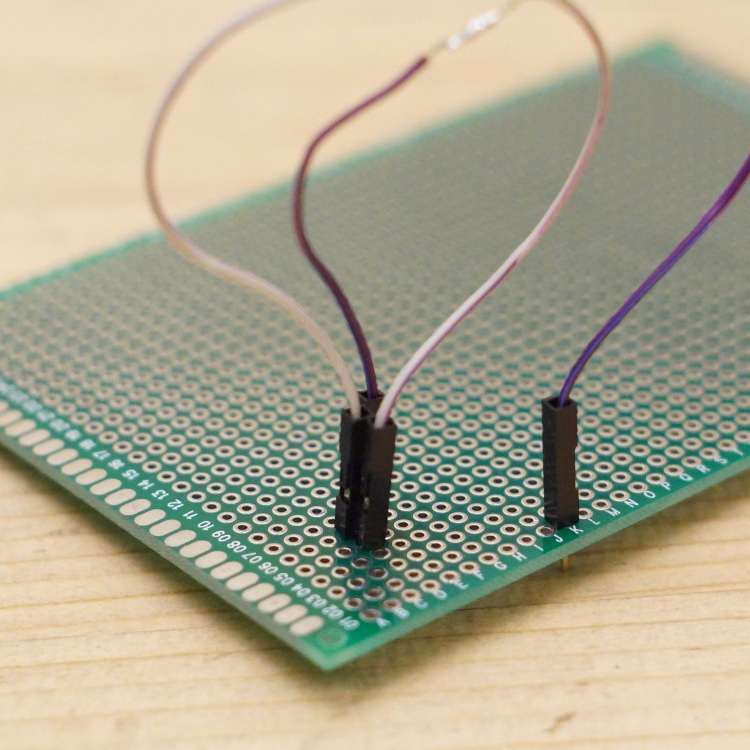
Before starting on this project I had never soldered any electrical components, I even had to buy a soldering kit specifically for this. Fair enough I program computers for a living but in this case my knowledge actually hindered my progress as I looked for a complicated solution to a problem I didn’t actually have. Luckily Stephen was on hand (via Twitter) to help me through it.
Soldering wise I’d say I spent a couple of hours in elapsed time making up the device, but that’s only because I was taking it very slowly to make sure I got nothing wrong. I’d imagine anyone with soldering experience would have this done in a few minutes.
If you don’t feel you can solder the components together why not ask a friend, relative or colleague?
 A real life example
With the xDrip device in Amy’s room, we checked that our tablet’s xDrip app could communicate with it when in our bedroom and also when downstairs in the kitchen; it could.
Off to bed we all went, everyone drifting off quick quickly, except me as I was busy staring at a tablet mesmerised by the information in front of me. (I really hope that’s a first night thing!)
At 7am I woke up and went downstairs, taking the tablet with me but not looking at it, placing it on charge in the kitchen, underneath Amy’s bedroom. I heard a noise and presumed it to be a mobile getting a Facebook notification or something. Then it happened again.
I realised it was Amy’s Animas Vibe pump vibrating to tell her that something wasn’t great, it was right she was low. Amy was fast asleep with the pump lying on the mattress beside her, she couldn’t feel it, it didn’t wake her. On the other hand I was in the room underneath and heard it, the vibration going through the mattress, down the bed itself, onto the floorboards, through the joists and onto the ceiling below!
So I checked the tablet and saw the image on the right. I waited 10 minutes to see if her level improved – it didn’t – and went up to wake her to give her a few glucose tablets. Amy went straight back to sleep, I went downstairs happy that she was no longer in danger.
Twenty minutes later I was pleased by the 5.5mmol showing on the xDrip app.
Interested in further posts about this subject? Why not like
this blog’s Facebook page and get notified of updates, or click ‘Follow’ using the button at the bottom-right of this page.
Interested in what components you’ll need to build xDrip? Then read this: #WeAreNotWaiting thanks to #xDrip – Components Required


 A graph from a Nightscout website showing